How to build the OpenCV from Source with Cuda (C++)
Build and Install OpenCV 4.6.0 version with Cuda 11.7
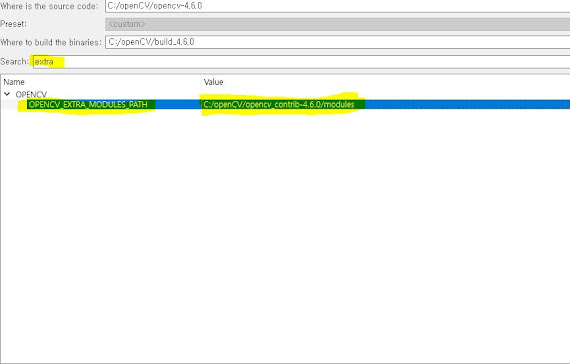
5. Search "extra" and on "Opencv_Extra_Modules_Path", add the "modules" folder inside of the opencv_contrib folder you downloaded.
OpenCV Github :
I built OpenCV 4.5.4 last year with Cuda 11.5; however, I had to update OpenCV.
I decided to download a new Cuda version 11.7 too.
I will show you how to install and build OpenCV from a source step by step.
Installing Cuda and Cudnn, I will talk about them another time.
Let's Get Started!!!!!
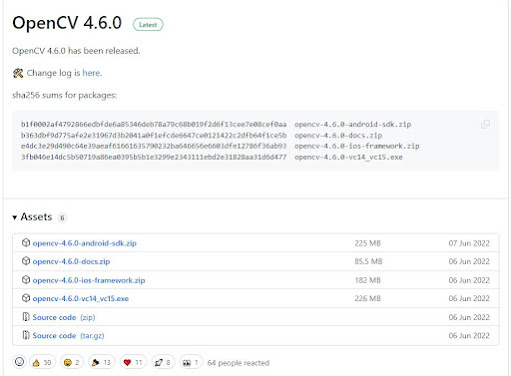
First of all, you need to go to OpenCV Github Repository, which is https://github.com/opencv/opencv/releases.
Next, find the OpenCV version you want to download. (I downloaded OpenCV 4.6.0)
Now, download the source code (zip) of the version you want.
You also need to download an OpenCV Contrib source code.
Go to https://github.com/opencv/opencv_contrib (OpenCV contrib) and download the source code (zip) of the version you want.
******************* It should be the same version as the OpenCV *********************
Once you downloaded both sources, move them to a folder you want.
** I moved all of them to an "OpenCV" folder I created.
Now, create a build folder in the directory.
This is where you will build OpenCV.
Before we proceed, make sure you installed Cuda, downloaded Cudnn, and installed CMake as well.
The next step is to open the CMake application.
Once you opened CMake, you need to carefully follow the instructions.
For the Browse Source, put your downloaded OpenCV folder, and for the Browse Build, add the build folder you created.
Once the first configuration is done, you will see a bunch of red lines on CMake.
Do not get scared!! It is natural :))
###############################################################
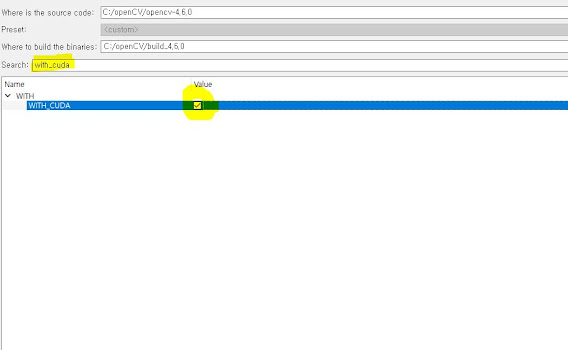
1. Search With_Cuda and check With_Cuda
###############################################################
###############################################################
3. Search "Fast_math" and check "Enable_Fast_Math"
###############################################################
4. Search "World" and check "BUILD_opencv_world"
###############################################################
###############################################################
6. Click the "Configure" button again
7. Wait until configure is done.
###############################################################
8. Once it is done configuring, search "fast" and check "CUDA_FAST_MATH"
###############################################################
- value can be found at https://en.wikipedia.org/wiki/CUDA
- because I have RTX 3060, I added 8.6
###############################################################
10. Search "cuda_Toolkit" and make sure the path is correctly pointing at your Cuda toolkit directory with the right version.
###############################################################
11. Lastly for Cmake, click Generate!
###############################################################
12. Go to the directory you build OpenCV and open "OpenCV.sln"
###############################################################
14. Right-click "Install" and build the project
###############################################################
###############################################################
Now you installed OpenCV from the source!!!
Next time, I will talk about how to use OpenCV in Visual Studio.
Have a Great Day!
https://github.com/opencv/


Comments
Post a Comment